Gear Review: MindShift Photocross 10 Sling Camera Bag
I don’t do a ton of review-type posts on here, but I wanted to do something on the MindShift Photocross 10 sling camera bag that I got shortly before the holidays. Please note that I purchased this at full retail price at the time of purchase and I’m not being compensated by anyone for this review.
Why do I bother saying this? Well, that’s one of the reasons that I’m writing this in the first place. The internet has, unfortunately, become rather cluttered with buckets of people posting “review” articles and videos for gear that they were provided for the express purpose of doing a “review.” I keep posting that word in quotes because often these “reviews” have the author gushing about how “this is my new favorite whatsit and the best whatsit I’ve ever used!” All this, after using the item maybe a couple of times to take some “in the field” photos. And then there are the unboxing videos, as the author waxes eloquent about how these are the finest whosits they’ve ever seen, etc. etc. etc.
For someone looking for actual information on a product, this clutter can become rather bothersome, and it isn’t actually all that helpful. In the case of this photo bag, there wasn’t a whole lot of information out there, and not a ton of photos of how people were using it, so I thought I’d pull a few together and show how I’m currently using it, and talk about my experiences so far.
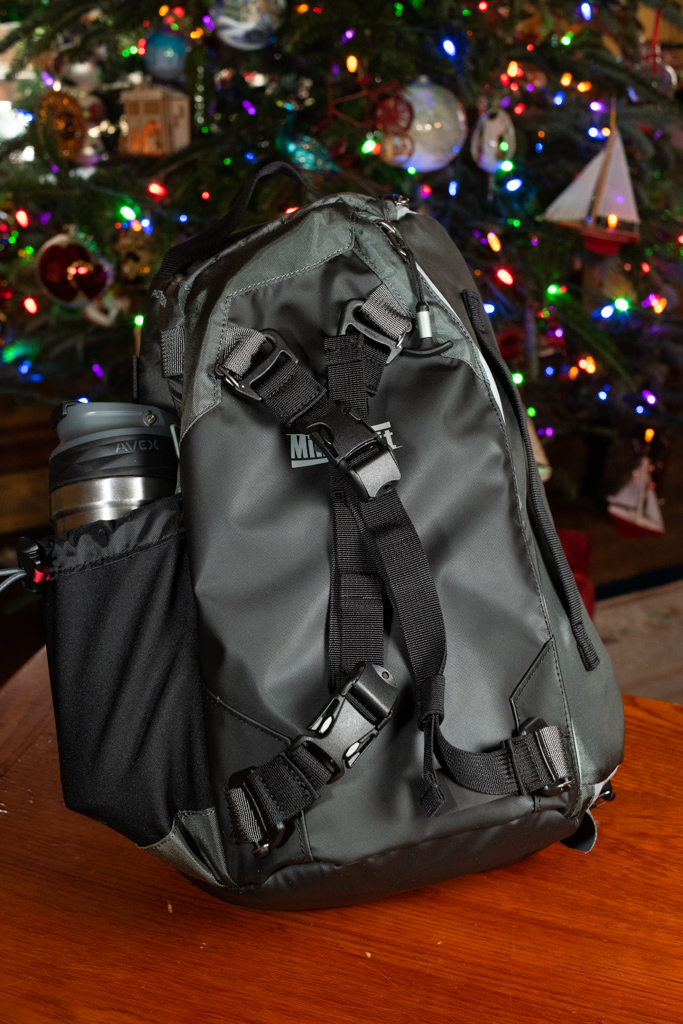
With that, here’s the bag: The MindShift Photocross 10

(Also note that the links here are not affiliate links or anything like that. If you click on them to read or buy or whatever, I don’t get anything.)
MindShift is a ThinkTank brand, and the bag has a lot of ThinkTank features, like the included full-coverage rain cover, reconfigurable/removable straps, and a bunch of little “human interface” features (the little red pull tab on the water bottle pocket cinch in the photo above, the quality zipper pulls that work well with gloved/cold hands, a big wide tab to hold to help pull the main zipper closed, strap keepers to tame loose strap ends, and little colored visual clues for things like where the waist belt stores and where the strap goes to secure the rain cover). ThinkTank is known for quality materials and construction, and this bag is no exception, with water repellent materials used throughout the exterior, breathable mesh back, comfortable main strap with good adjustability, high quality hardware, and great technical fabrics used on the interior.
The bag has two main exterior compartments. Both open on one side, and are set up so one can swing the bag around to the front and work out of it without removing it or having the contents dump easily.
On the outermost side of the bag is a thin full-height, full-width compartment. Inside are two sleeves that could be used for smaller items. I keep a pocket knife in one, and have stashed a small (thin) first aid kit outside the sleeves in this compartment.
The main camera compartment occupies the majority of the bag’s volume. It comes with several divider pieces and is fully configurable by the user. There are no fixed dividers in the camera compartment. The lid of the main compartment has a mesh pocket divided in the center that opens with a full-length zipper with two pulls. This is great for really small items that might be needed at-hand, such as batteries, memory cards, lens wipes, etc. Against the back panel in the main compartment, there is a full-height slot with a velcro tab intended for up to a 10-inch tablet. My iPad Pro 10″ fits fine.
When I found this bag, I was looking for a sling-style bag that I could use to carry one of two camera setups on walks and short hikes. I wanted easy access without removing the bag, while also being out of the way while trekking. I was looking for something low-profile that would work as well for walking around a city (when we can do that again safely someday) as it would out in the woods. The sling style was attractive because it could be secured easily on my back while walking, using public transit, etc., but I could swing it around and work out of it easily when I wanted to make some photos. Low profile meant both small and also not flashy. The Photocross series ticked most of those boxes. So let’s see one of my normal load-outs and talk a bit about how I’ve been using the bag:
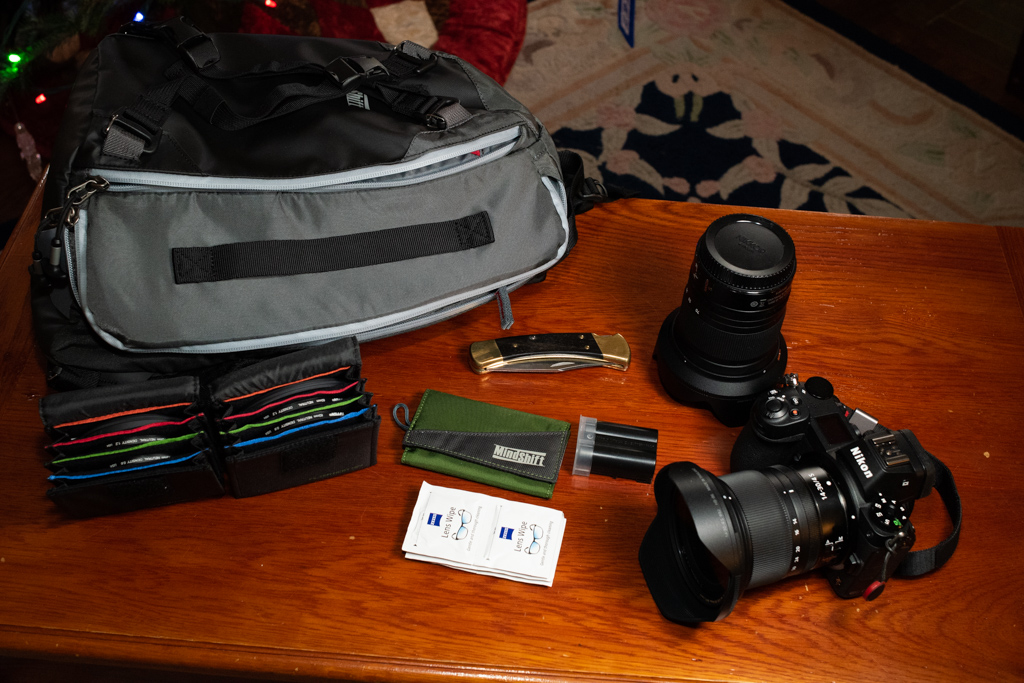
Starting from the left, there are two MindShift Filter Nest mini’s, one with 72mm filters and one with 82mm filters, appropriate for the two Nikon Z-series lenses I’m carrying (filters include two ND filters and circular polarizer; the cases have a slot for one more filter if I want to add something else). Next is a MindShift CF Card Again (this size works for XQD/CFE cards). Under that are lens wipes. Above those is a Buck pocket knife, spare battery for the Nikon Z, Nikkor 24-70mm f/4 S lens, and the Nikon Z7 with 14-30mm f/4 S lens mounted.
Here is the main compartment open showing how all that fits in:
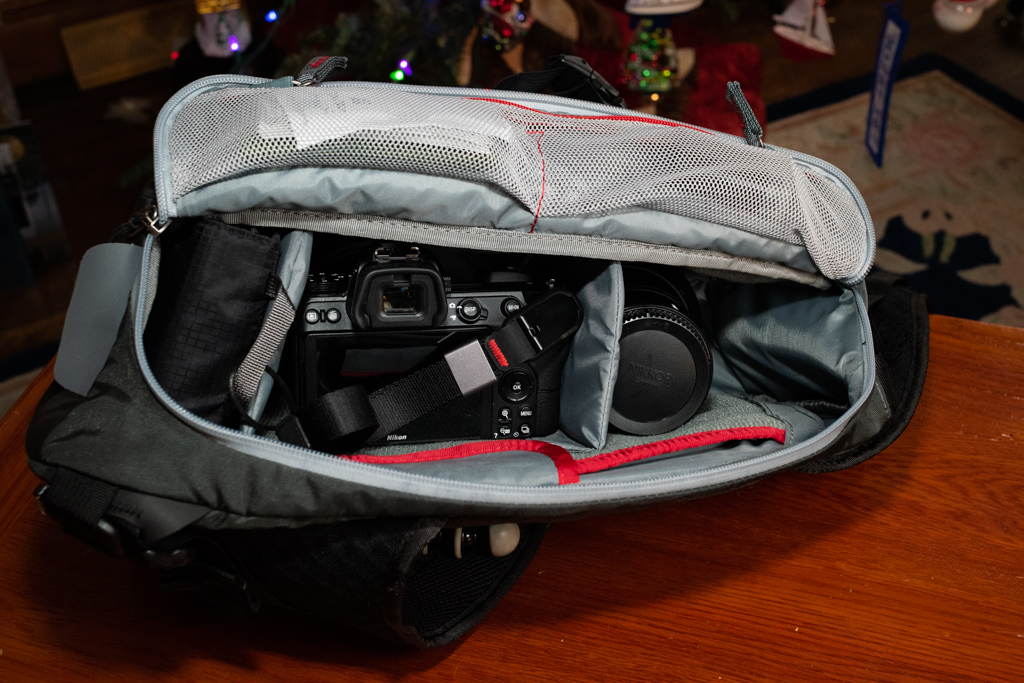
The two filter cases are on the left/bottom of the bag, stacked vertically. To the right is the Z with the 14-30 mounted, then the 24-70. Underneath the 24-70 is the rain cover in its integrated pouch. In the mesh pockets on the lid, to the left is the card wallet and lens wipes, and to the right is the spare battery. The pocket knife goes into one of the sleeves in the outer compartment.
A load-out with my Fuji X-T30 and “prime trio” (16mm, 23mm, 35mm) looks quite similar. The filter cases get left out and I put the rain cover there, the middle compartment gets the X-T30 with prime mounted, and the other two primes in their lens wraps sit in the rightmost compartment. I swap the card wallet for a couple of SD cards in individual cases, and swap the Nikon spare battery for two spares for the Fuji.
One thing to note is that the Z7 in these photos does not show the Really Right Stuff tripod plate attached, because I’m still waiting for it to arrive. I did test it with a plate that occupies mostly the same footprint, and it fits fine. An L-style RRS/Arca plate would get a little tight the way I have the dividers set, but you can see that I’ve got some extra space in the right/top of the bag, so I could easily move that over to make some additional room.
Also note that the Z7 will fit vertically in its spot with either the 14-30 or the 24-70 mounted, and the other lens in the spot to the right, and all of these are with hood extended. This means no fiddling with hoods or whatnot when I’m shooting, just extract the camera, remove the lens cap if I haven’t done that yet, and expose some pixels.
Another “want” on my list for a bag like this was a way to carry some water and maybe some trail snacks. Even with the first aid kit, there’s some room for a bag of trail mix or a nut butter bar in the outer compartment, and the included water bottle pocket on the outside is good–to a point. It fits my smaller LL Bean thermos bottle (I like my water cold, thank you very much). It does not fit a 32oz/1L standard Nalgene. It could probably fit one of the narrower non-insulated 1L bottles, but I don’t have one to try.
The little cinch cord is well done and can be used to cinch down on the outside of a bottle, and the loop can be placed over small-mouth bottles to further secure them if necessary. For a 5-6 mile hike on a marked trail, the smaller LL Bean thermos bottle is enough for me, presuming I have more back at the car.
I’ve used this bag for probably about 40 miles of walking and hiking since it arrived, first with the Fuji kit, and now with the Nikon Z kit. I intentionally pushed it to its limits to see what it could support and how I wanted to use it, and also to identify what kinds of things I would want in a bag for longer day hikes and things like hotel-supported travel (and travel on our sailboat!). For me, this bag really shines on walks and short hikes where I’m not going to be carrying much else.
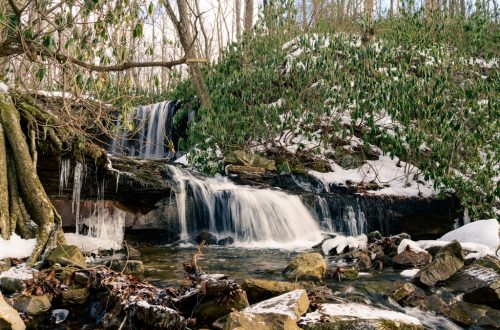
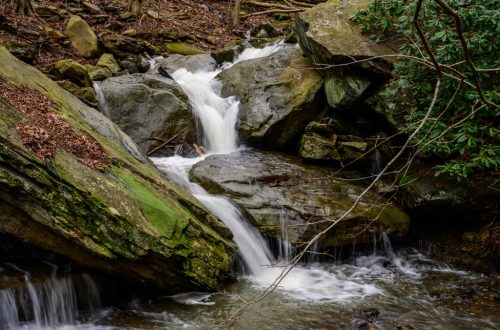
The straps on the back are purpotedly for a tripod, but for me, this does not work. Even a really light tripod, strapped that far outboard on the bag, creates a lot of leverage on the strap. I went on two hikes of about five miles with this bag and a tripod, and both times I opted to carry the tripod separately (usually slung over my shoulder on its own strap). It was just too much strapped to the bag. And, when on my shoulder as a separate item, it still weighed into the bag and was not all that comfortable. On the second of those two hikes (photos from Roaring Run hike here), I started with a few layers on, as it was chilly and had been raining. The rain layer came off about a mile into the hike, though, as it was keeping me a little too warm, and the rain did not look like it would return. I folded up that layer and strapped it to the back, where I also had a set of lightweight crampons attached (it was still quite chilly and I was worried about mud and ice around the creek where I wanted to photograph). Even these things felt like a little too much. Certainly, if I had more than that rain layer that I wanted to remove and carry on the pack, it would start to get a little unwieldy. I suppose that for a normal-sized person with normal-sized clothing, this might not be as big of a problem, but neither I nor my clothing are normal-sized, so this is non-optimal.
Unencumbered, the bag has been great for my daily walks around the city, and hikes without a tripod or extra equipment. If the only extra thing I was carrying was a rain jacket or poncho, I think that still works for me, but that would be my limit. It is, after all, a small bag (the smallest in the Photocross lineup), and I got this size with the intention of using it to help me make good decisions about what to carry in terms of photo gear.
For me, at around the four mile mark, this bag starts to become uncomfortable. It’s not unbearable in the 5-6 mile range, but I don’t think I’d want to go much further than that without a decent rest with the bag off. While the strap system is great and has good adjustments, it is not set up to allow for swapping shoulders for carry (if you typically carry over-the-shoulder on your right shoulder and swing the bag around from your left, this is not the bag for you). The waist belt definitely helps to secure the bag while hiking and scrambling around terrain, but it is not load bearing, so the weight remains on your shoulder. Given that it is a sling, that shoulder strap doesn’t have a lot of places it can go, so it becomes a contact point that can’t be easily moved around to ease discomfort over time.
Overall, this bag seems to fit the criteria I had, and I’m pretty confident now about its limits and what I want in a bag for longer or more equipment-heavy hikes. I think for those I will be looking at a backpack-style bag, which makes accessibility a little more difficult, but allows me to comfortably carry the gear I might need for longer distances and more difficult terrain, or even just carrying a few different options for layers on days with more dramatic swings in conditions. It will also allow me to carry a few more things that I consider safety essentials when a little further out or in territory I don’t know well. Hopefully, it will also be capable enough to carry a few changes of clothing and essentials for supported overnights, which would make it the bag of choice when we head up to the sailboat for a weekend, or off to visit someplace by car where we’ll be overnight in a hotel or something.
Thanks for following along, and I hope maybe this helped you to make a decision on the Photocross bags. They are quality bags, and the Photocross 10 definitely fits a specific use case for me.