A User’s Review of the Shimado Action X50 Photo Backpack
Full disclosure: I buy all my gear (or it’s been a gift from my awesome wife or Dad). I don’t get anything provided to me to review. I’m not fancy enough for that. As you’ll read later, though, I felt this was important to mention first.
I’ve talked about my photo backpack in a few posts, but I don’t think I’ve ever actually talked much about the pack itself. When I started doing day hikes again last year, after a long hiatus, I decided to get myself a photo backpack. I had a few shoulder bags of different types that worked great for walk-around shooting, like visiting Phipps, wandering around the city, or taking a camera and accessories to an event. None of them provided easy ability to carry a tripod, though, and they generally didn’t have provisions for carrying other essentials for spending time away from infrastructure (water, snacks, first aid, extra layers, rain protection, etc.). They also got uncomfortable with any sort of heavy load after a while, and tended to move around a lot.
I first got a MindShift Photocross 10 sling, which was a great bag, but it was overloaded and really uncomfortable with my tripod attached. It has become one of my favorite bags for wandering around somewhere with a camera, though, as it has enough space for my normal Nikon Z7 kit, straps to secure an extra layer or rain jacket, and a bottle pocket that can fit most standard water bottles. It has enough room for me to throw in a small first aid kit and maybe a few small items. In a configuration like this, it is quite comfortable for a day of wandering where there is infrastructure and I don’t need to carry much. It was not great for hiking, though.
I went looking for something more capable of comfortably carrying more gear for wandering into more wild areas. After poking at a lot of reviews, I decided to try the Shimoda Action X50. I’m a big guy, so my extra layers are bigger, and figured the X50 would provide valuable extra space over the smaller X30. I’m not typically going into extreme wilds, though, or hiking where I would need lots of extra clothing to cover really rough weather, so the X70 seemed like overkill.
The Action X50 has turned out to be a great pack. I initially wasn’t sure about it, as the world of photo backpacks seems to get a lot of hyped reviews, and it was difficult to find people who bought a bag for themselves and actually used it. I could find tons of reviews and videos from people who received a bag for the purposes of a review. Predictably, most of them exclaimed that, “this is the best bag I’ve ever used!” after using it for one or two outings. It replaced their last best-ever bag from a month prior. And, if I was paying attention, I could often spot their next best-ever bag in a video a month or so later.
One of the features of the Action series that appealed to me early on has been one that I have actually not used much, and that is the side-access to the camera compartment. The idea is that a camera can be accessed without fully removing the pack. Removing the bag from one shoulder and rotating it towards one’s front, there is a side panel that can be unzipped, and compatible camera compartment dividers provide a velcro closure flap that permits access to one part of the divided compartment. I set it up to use it, and have only used it a few times. For me, access isn’t fast enough for me to use to catch some fleeting moment. I’m spending almost as much time unbuckling the waist belt and sternum strap and trying to get the pack swung around and positioned so I can open the side panel, as I might just taking the pack off and opening the compartment the conventional way. It also works best if the external side pocket isn’t in use on that side, which means that my tripod would have to ride on the back, or I forego a water bottle and use the built-in pocket to carry a hydration bladder. While I use a hydration bladder in my bike backpack and could use it in this pack, too, having a bottle is a little easier to pack and get going quickly.
The pack itself is made of a material that repels water pretty well. I have a cover, but I’ve never felt the need to use it. I suppose if I was in a serious downpour, I might want to put it on or otherwise get under cover, but it is set up pretty well. I’m usually not out with major rain in the forecast, so it is adequate for what I need.
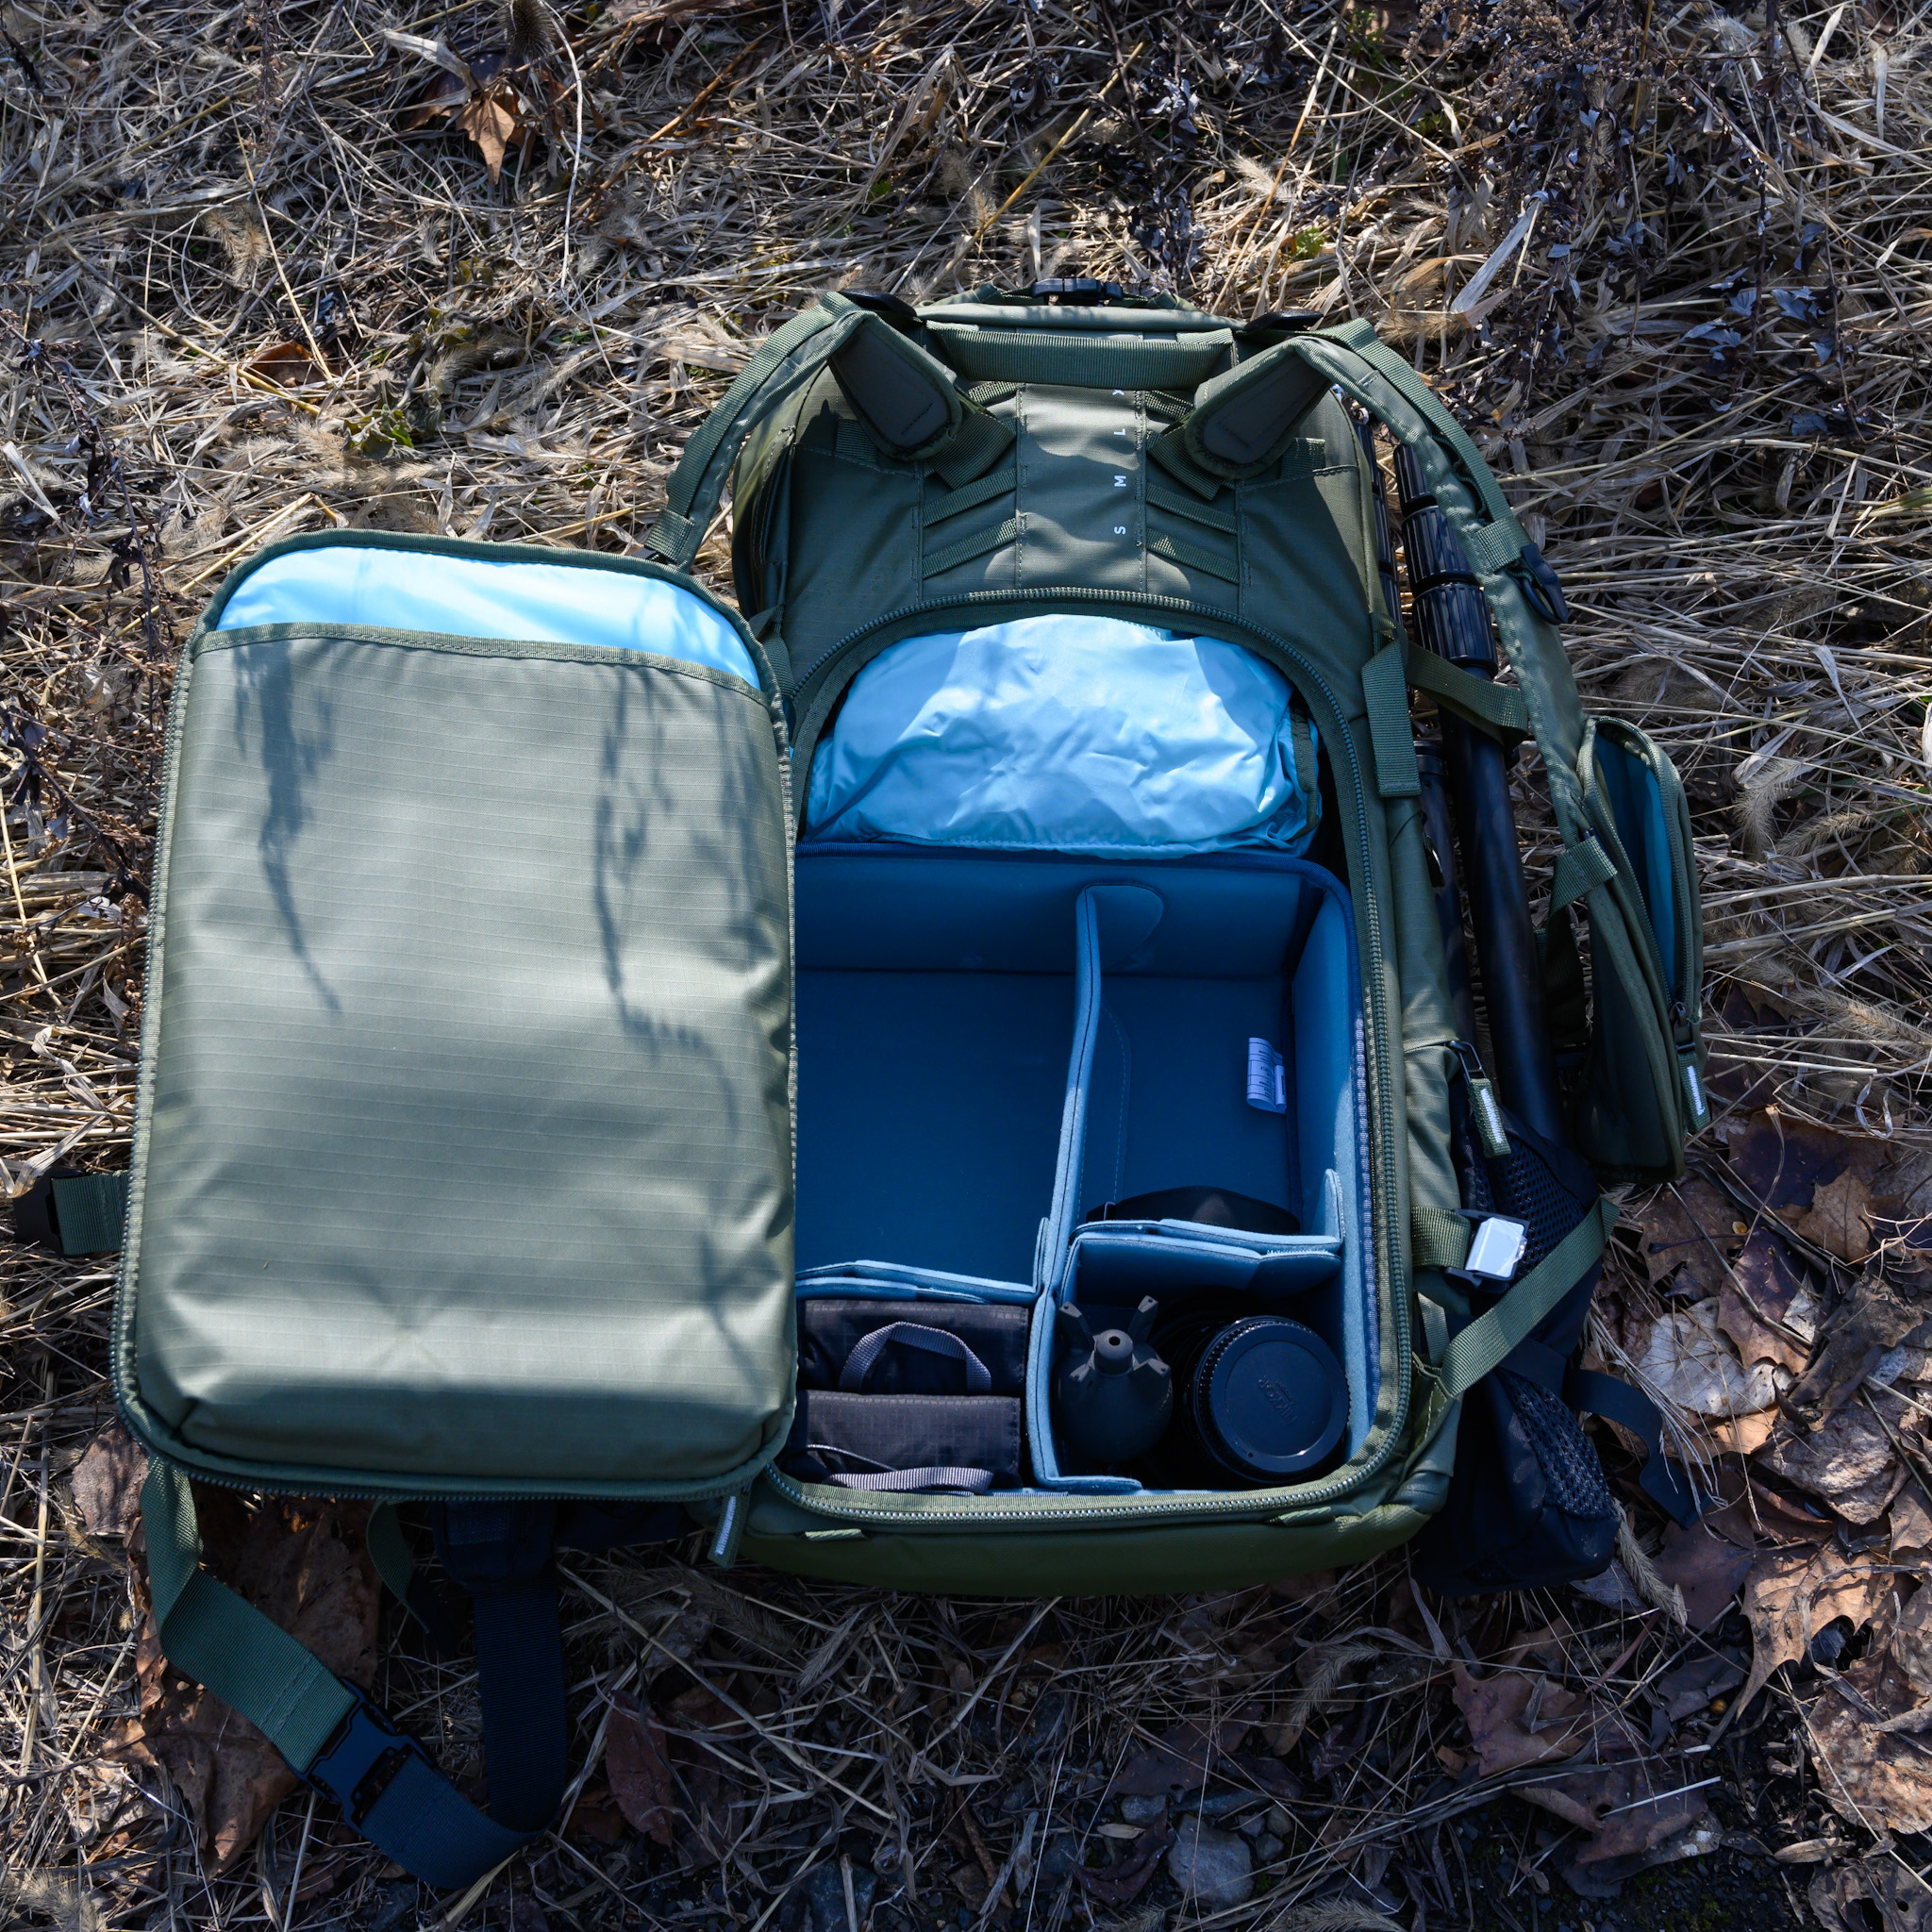
The top of the pack has a roll-top closure that can be used to expand the capacity of the top compartment. I’ve yet to have to use this extra capacity for anything, but it is nice to know it is there. The top compartment shares some space with the photo gear compartment, so if I had a larger photo compartment unit, it would encroach on the space in the top compartment, and I might have to go into the roll-top expansion. The top compartment can also be accessed with a zipper, which is how I usually open it. There are two mesh zipper pockets against the front and back of the liner. I put my first aid kit and snacks in these, plus any small items I might want to carry in the pack that are not photo-related. The main part of the compartment is then open to carry a lunch, extra layers, gloves, etc.
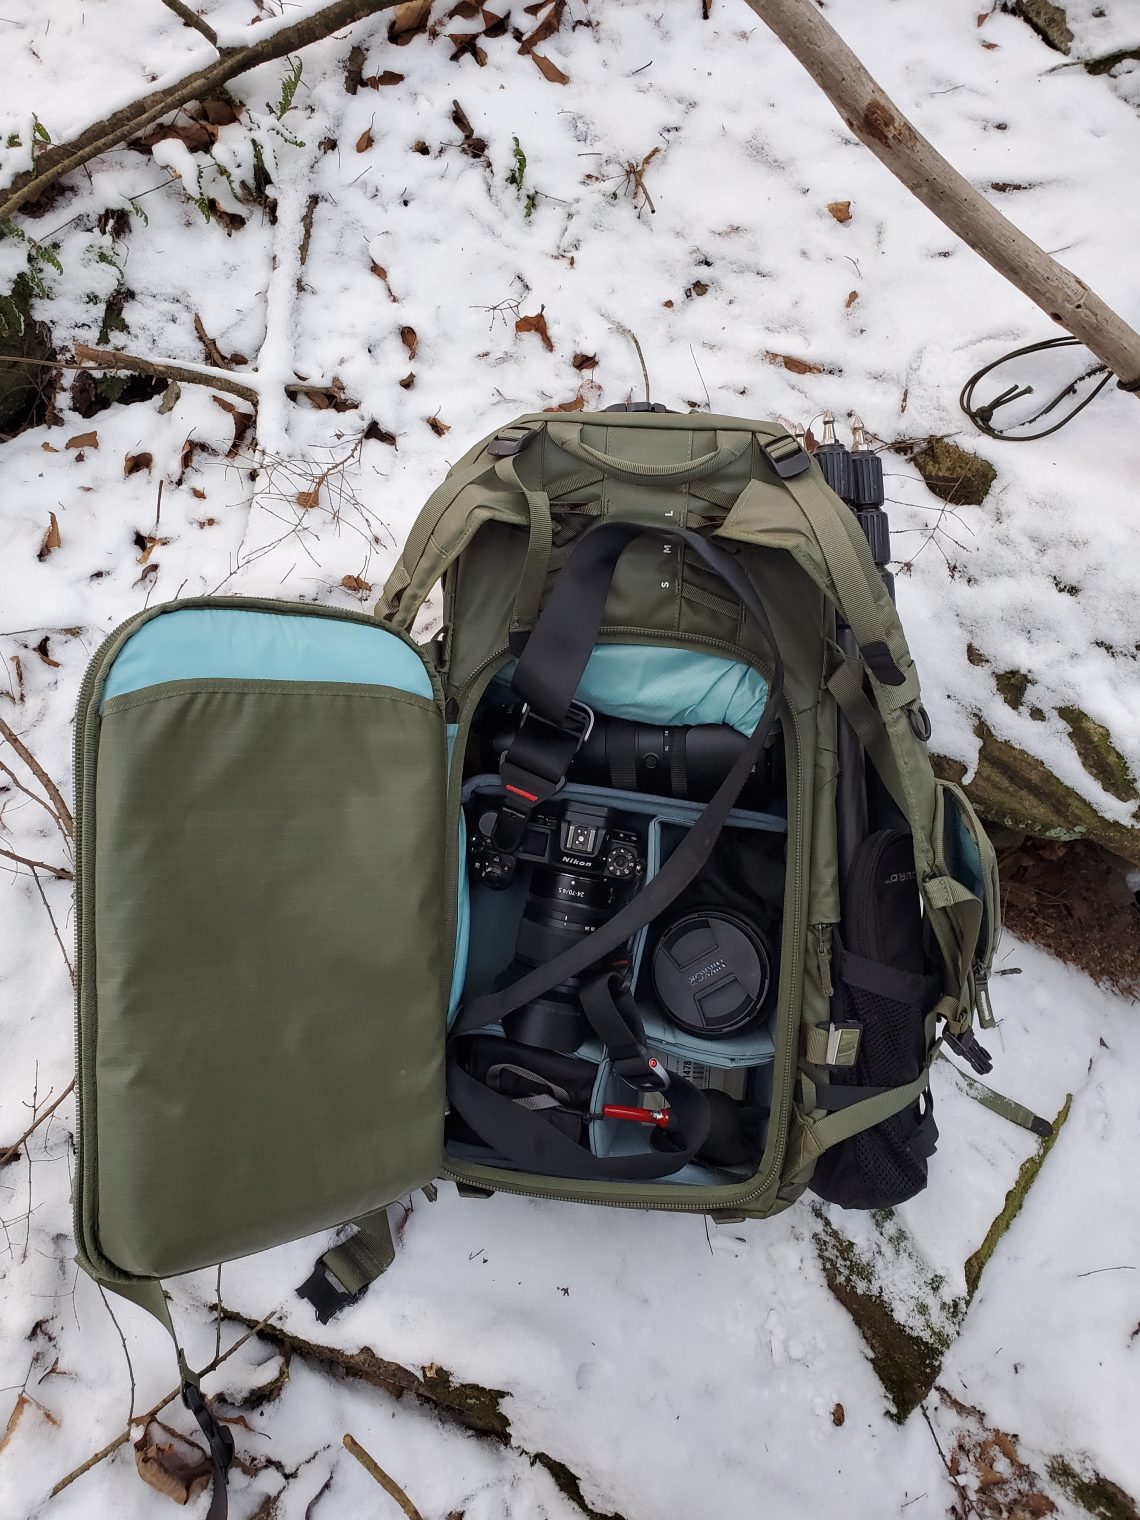
I have the “Medium Mirrorless” core unit for the photo gear comparment. It easily takes my Z7 with either the 24-70 f/4 or 14-30 f/4 attached, whichever of those two lenses is not on the camera, two filter cases (NDs and circular polarizers for both lenses), and lens cleaning stuff (blower, cleaning wipes). If I want to take the 70-200 f/2.8, it sits nicely on top of the core unit, and there is room in the core unit to also carry the 2.x teleconverter. The main opening for the photo compartment has a sleeve that can hold up to a 16″ Macbook Pro. I don’t often carry a laptop or tablet with me on hikes, but I’ve carried my iPad Pro a couple of times to process some photos on a bigger display, or if the hike is part of the day and I only want to carry one bag.
The front pocket on the bag has some small zippered compartments, which I use for an extra battery and memory cards. The front pocket also has a hanger and pocket to contain a hydration bladder, and an internal path to route the hose to the strap side of the pack.
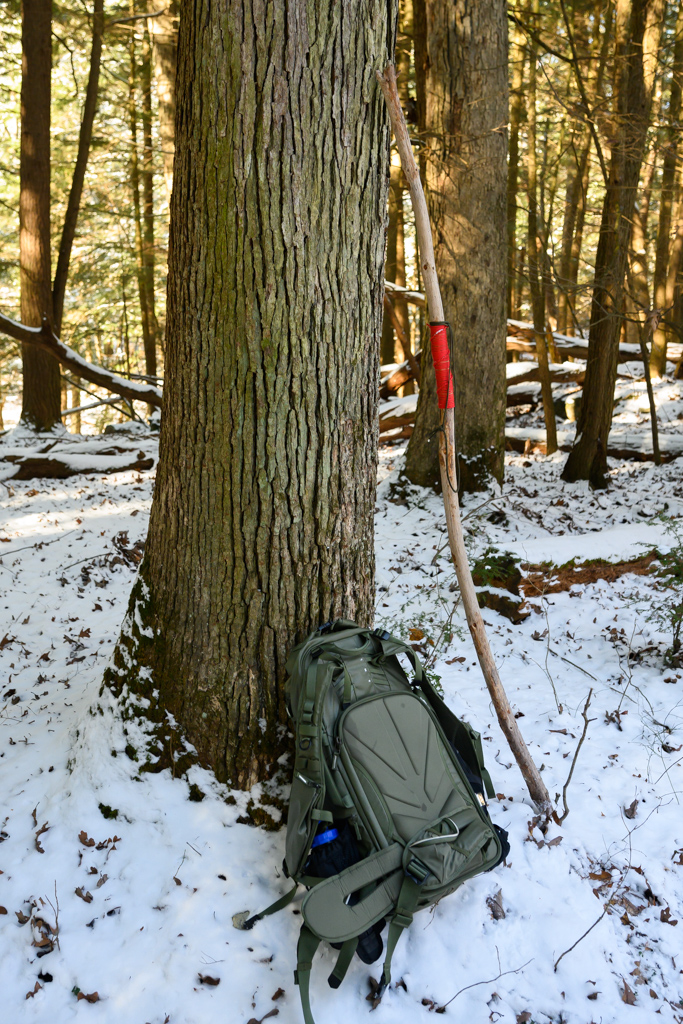
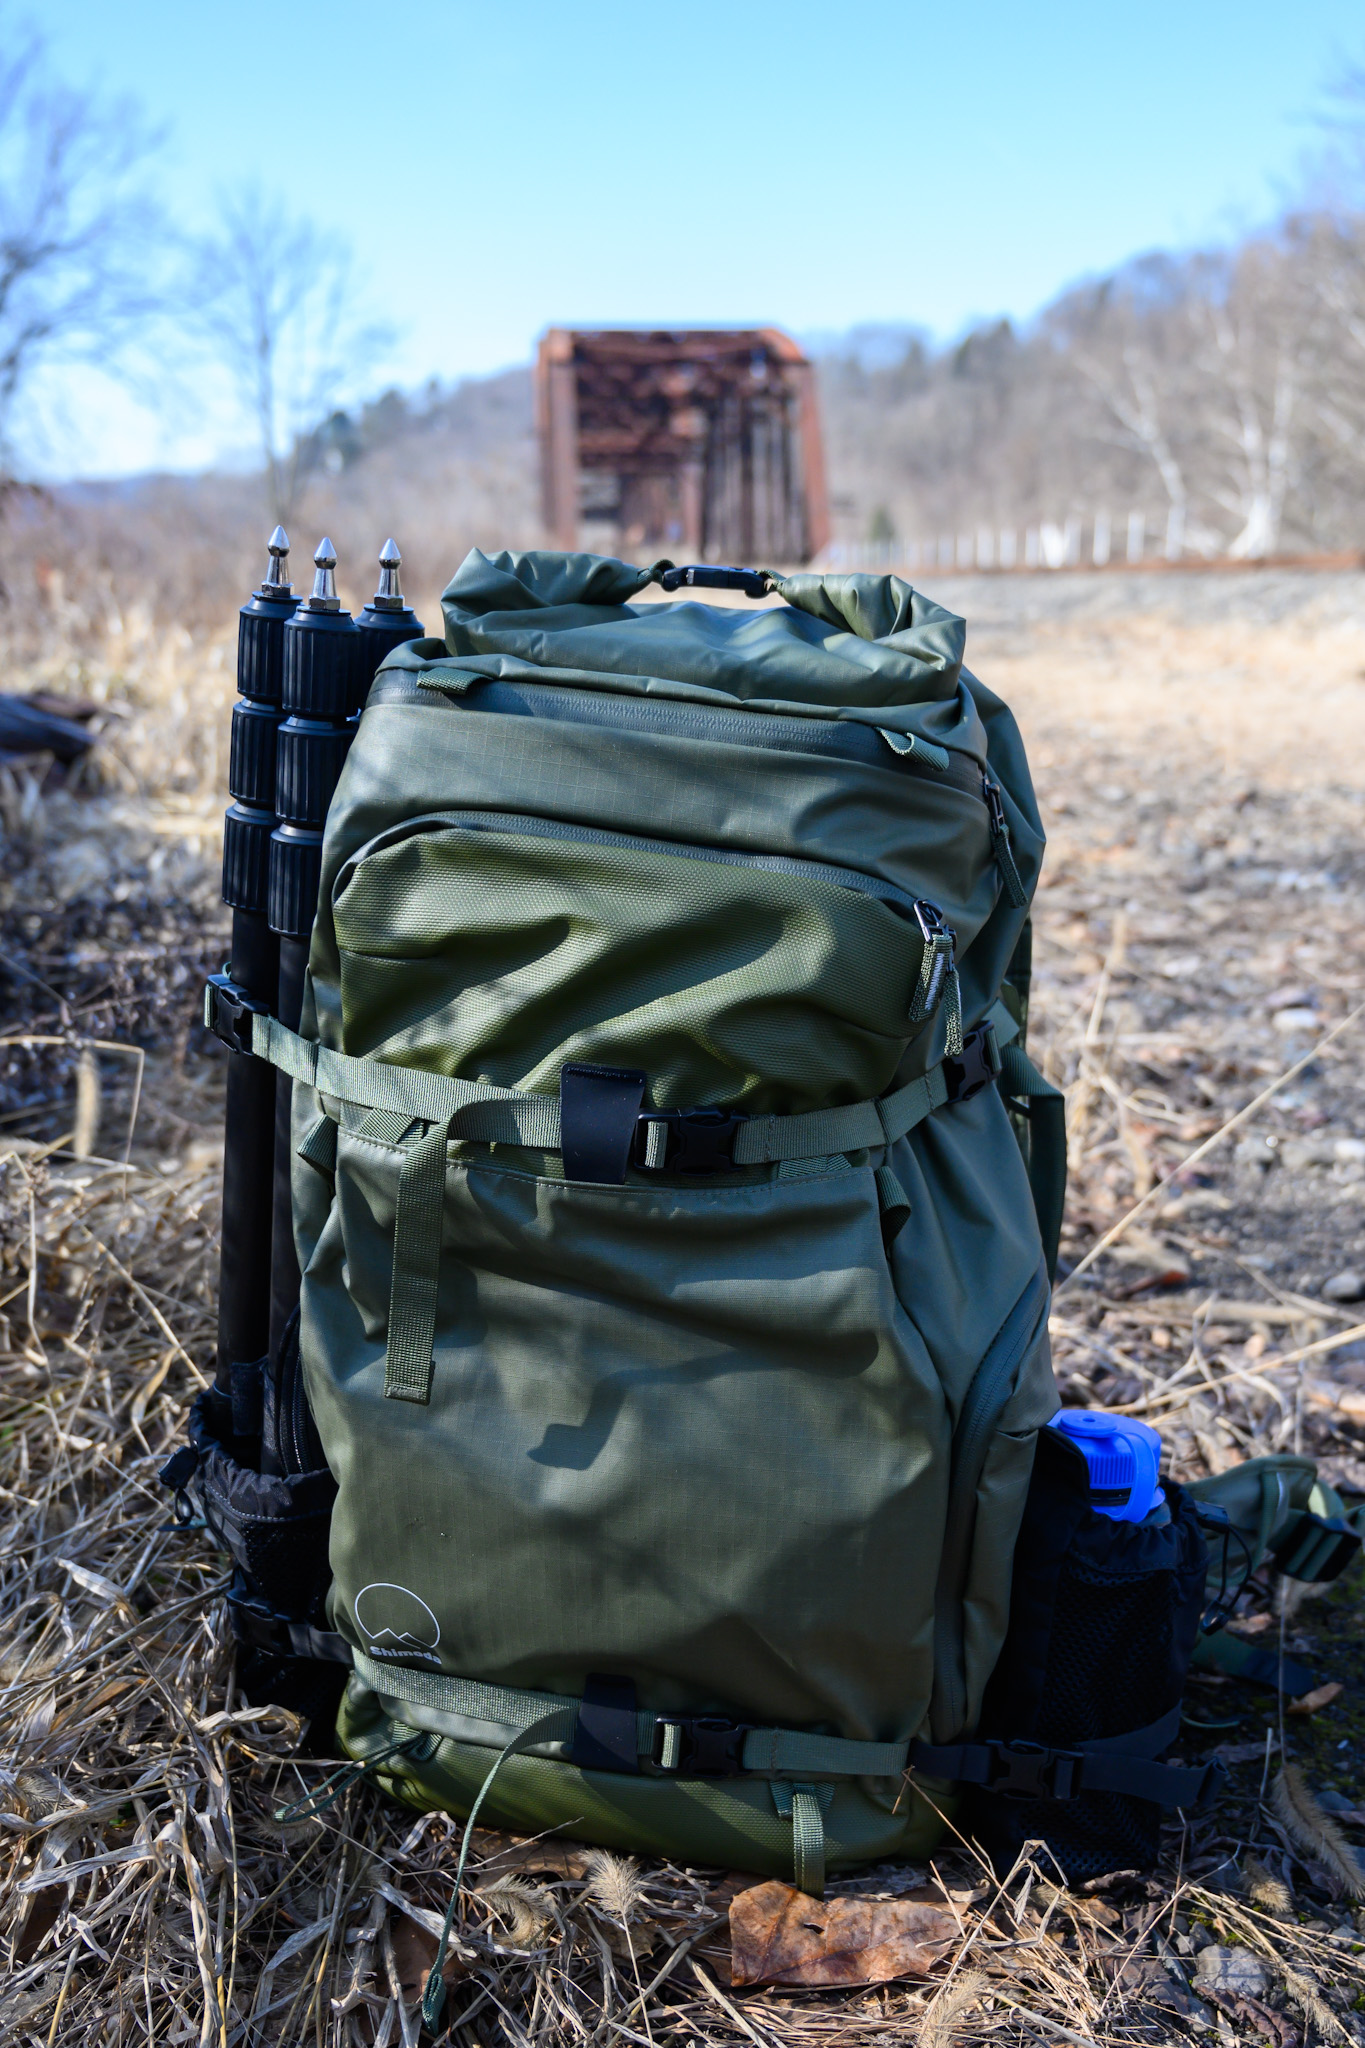
Each side has a fold-out pocket that can be used to carry a water bottle, tripod, or any sort of long-ish thing. I typically use one for my tripod (an Indura carbon fiber with a small ReallyRightStuff ball head), and the other for a water bottle (either a 32oz Nalgene or 36oz Yeti).
There are several compression straps that do an excellent job keeping the pack contained and any items on the outside secure. The design and layout of the straps is rather thoughtful, and keep my tripod and water bottle secure and not flopping around without having to smash the rest of the pack. There are also several external loops for hanging things. Shimado sells some accessories that attach to the pack. I use a couple of small carabiners to give me places to hang things like my crampons for winter hikes, gloves if I start out cold and end warm, wet poncho, and the like.
The shoulder straps each have a zipper pocket, plus loops and attachment points to hang things. One zipper pouch fits my Galaxy S10 with case (but just barely). The other is a little larger and can supposedly fit a 16oz water bottle. I usually keep a knife in that pocket. If my phone ever gets bigger, I’ll have to put the phone in that one instead!
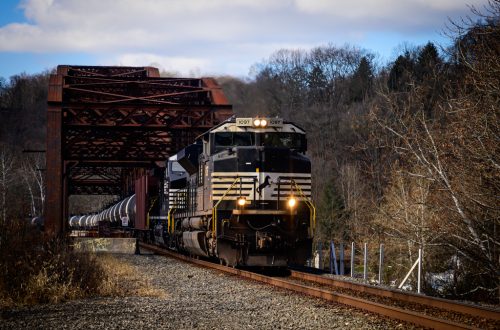
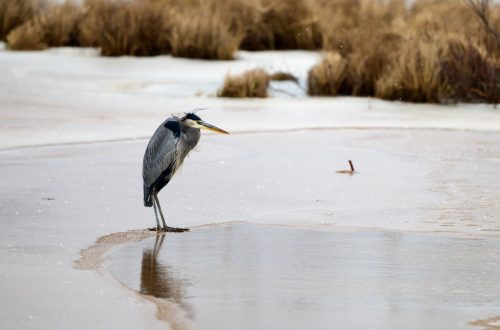
I’ve been really happy with this pack. I’m including a few photos here showing it on some adventures. There are plenty of photo and video walk-throughs if you want to get a better idea of how it is laid out. I’m happy to answer any questions readers might have, too!