Snow Day
As we in western Pennsylvania move from the season we know as “Fake Spring” to the one known as “Mud,” the precursor to the four-day period known as “Real Spring,” we’re having what might be the last accumulating snowfall. This seemed like a good day to spend some time in the woodshop before getting to work preparing the board file for the Classic Brew Band concert I’m doing next weekend at The Oaks Theater.
I’ve been working on building a medicine chest for our first floor powder room. This room frustrates me on several levels. When I bought the house, it was a confusing space: A large-ish room off of the kitchen with a toilet in one corner and a sink in the opposite corner, a set of shelves enclosed by some bifold doors, and the door to the basement stairs. And it was paneled. Think ugly 1980’s fake wood paneling. A plastic mirror was hung on the wall above a chipboard vanity that was slowly falling apart as the glue failed.
I soon realized that this was probably a butler’s pantry. And since that moment, I’ve yearned to turn it back into a butler’s pantry. At the same time, it is really convenient for us to have a powder room on the first floor, and it is especially useful when we have guests. My dream is to reconfigure the room into a small powder room with a sliding door for access, opening up the rest of the room to use as a pantry with storage and some counter space. I’m fairly convinced that it can be done, but I’m going to need a clueful contractor and designer to help make it work.
One weekend back in 2010, my wife was off visiting her family, and in a momentary lapse of judgement, I decided to tear apart the room for a re-do. I couldn’t take the paneling anymore, the vanity was shot, the fake stick-on tile on the floor was in bad shape… it was just a lose-lose situation. During that renovation, we replaced everything but the toilet and the ceiling light. That included a new mirror for the wall. It wasn’t the full-on layout change I wanted to do, but it refreshed the room and finally rid us of the paneling.
I was never a huge fan of the mirror I got from from Lowes, though. One day a couple of years back, one of the brackets holding it to the wall failed. The mirror fell, but didn’t break. So I got a new bracket and put it back up. I bet you can guess what happened a couple of months later. Yep, the other bracket failed. I was done. I removed it from the wall. Since then, there’s been just two spots on the wall where the brackets used to be.
I wanted to build an actual medicine chest to put in the space, with a mirrored door. This would give us a spot to store the vitamins and simple stuff that we like to have access to downstairs, like some minor first aid stuff, sinus meds, ibuprofen, etc. I embarked on a few rounds of drawings and designs until I was happy with something. This past fall, I actually started to build it, using some cherry boards I had been saving for some small furniture projects.
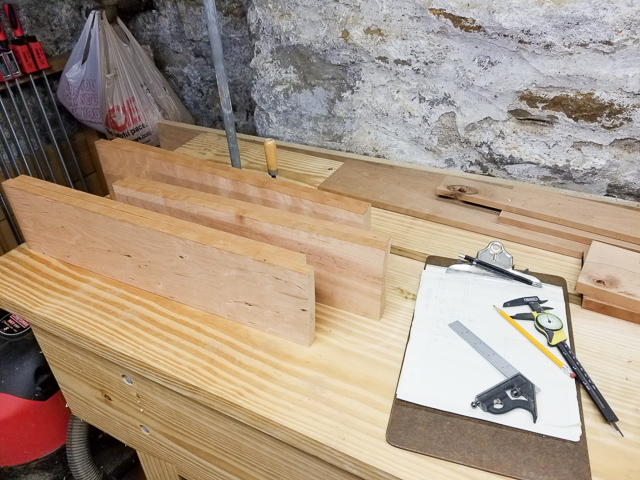
First up was to trim the parts to rough size, then plane, joint, and rip each board so that everything was flat, square, and the proper thickness. I’m lucky that I’ve been able to outfit my small shop with good, reliable tooling to make this work fast and accurate. I have hand tools that I can use to do the same work completely manually, but having good power tools to help with these tasks saves me a lot of time.
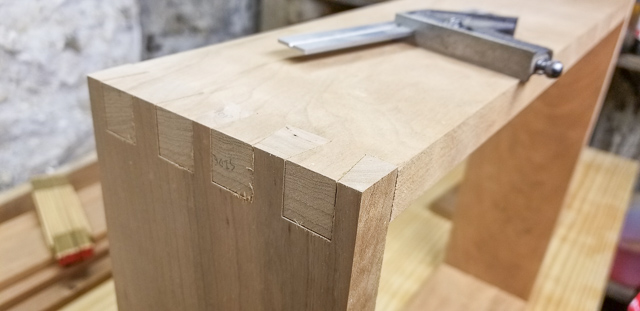
Next up was to cut and rip the case parts to their final size. I needed to know the final size of the case before working on the door, since the door is going to be an inset door for this cabinet. I’m using simple through dovetails on the case. They are strong, look good, and provide some visual interest to what otherwise is just a box on the wall. I have a Leigh D4 dovetail jig, which I’ve used extensively for projects large and small. Since I have most of the adjustments dialed-in at this point, cutting these joints was a pretty simple operation. I cut test pieces just to make sure everything fit before cutting the case pieces, then did a dry-fit (above).
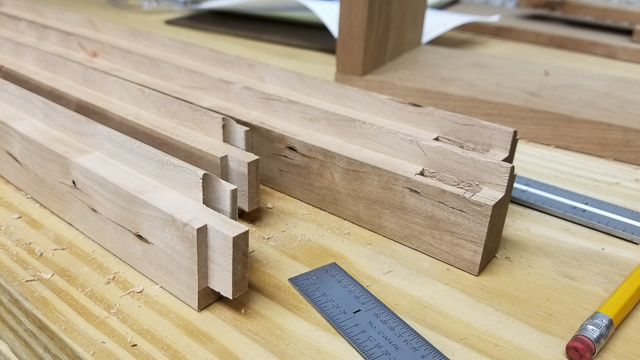
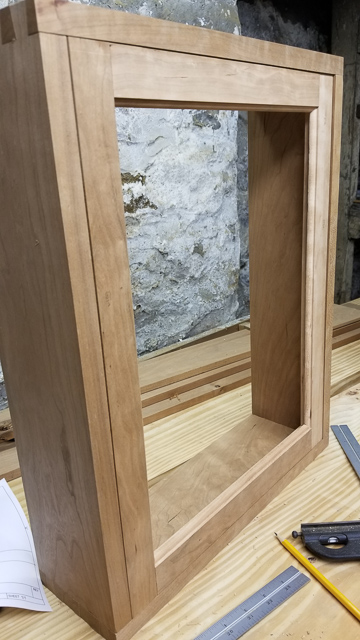
The dry fit allowed me to double-check my measurements for the door parts before cutting the rails and stiles. I had made the plans using Autodesk Fusion 360, which is a fabulous 3D CAD package. It can do a lot more than simple 3D design like this–I’ve used it to set up CAM tool paths, 3D print jobs, etc. I used the Freud cope-and-stick adjustable door router bit set to mill the rails and stiles. Since this is going to have a mirror in the door, I wanted to use extended tenons to help support that weight. I’m sure the regular cope-and-stick joints would have been fine at this scale, but I’d rather not find out that they are inadequate in a couple of years. It was just a little math and maybe an additional 15 minutes of setup and routing to get the extended tenons milled with the cope and stick joints. I used a square-chisel mortise machine to mill the mortises in the stiles. I did have one blunder here: When cutting the extended tenons, I forgot that I needed to account for the material missing from the stiles because I used the glass door cutter, which leaves a nice rabbet in the frame to hold a glass panel. My math error caused the tenons to be the right size, but too mach material was removed from the back of them, leaving a gap in the back of the door frame. Oops. Fortunately, I had a spare set of door parts just in case something like this happened, and it took about 15 more minutes to get those re-made correctly. After getting all of that done, I dry-fit the door (above) to make sure it fit correctly. It fit on the first try, which was a huge win. I glued it up and let it cure well before I took a hand plane to level the joints.
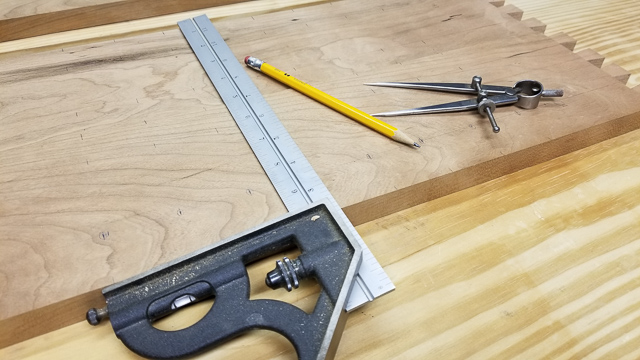
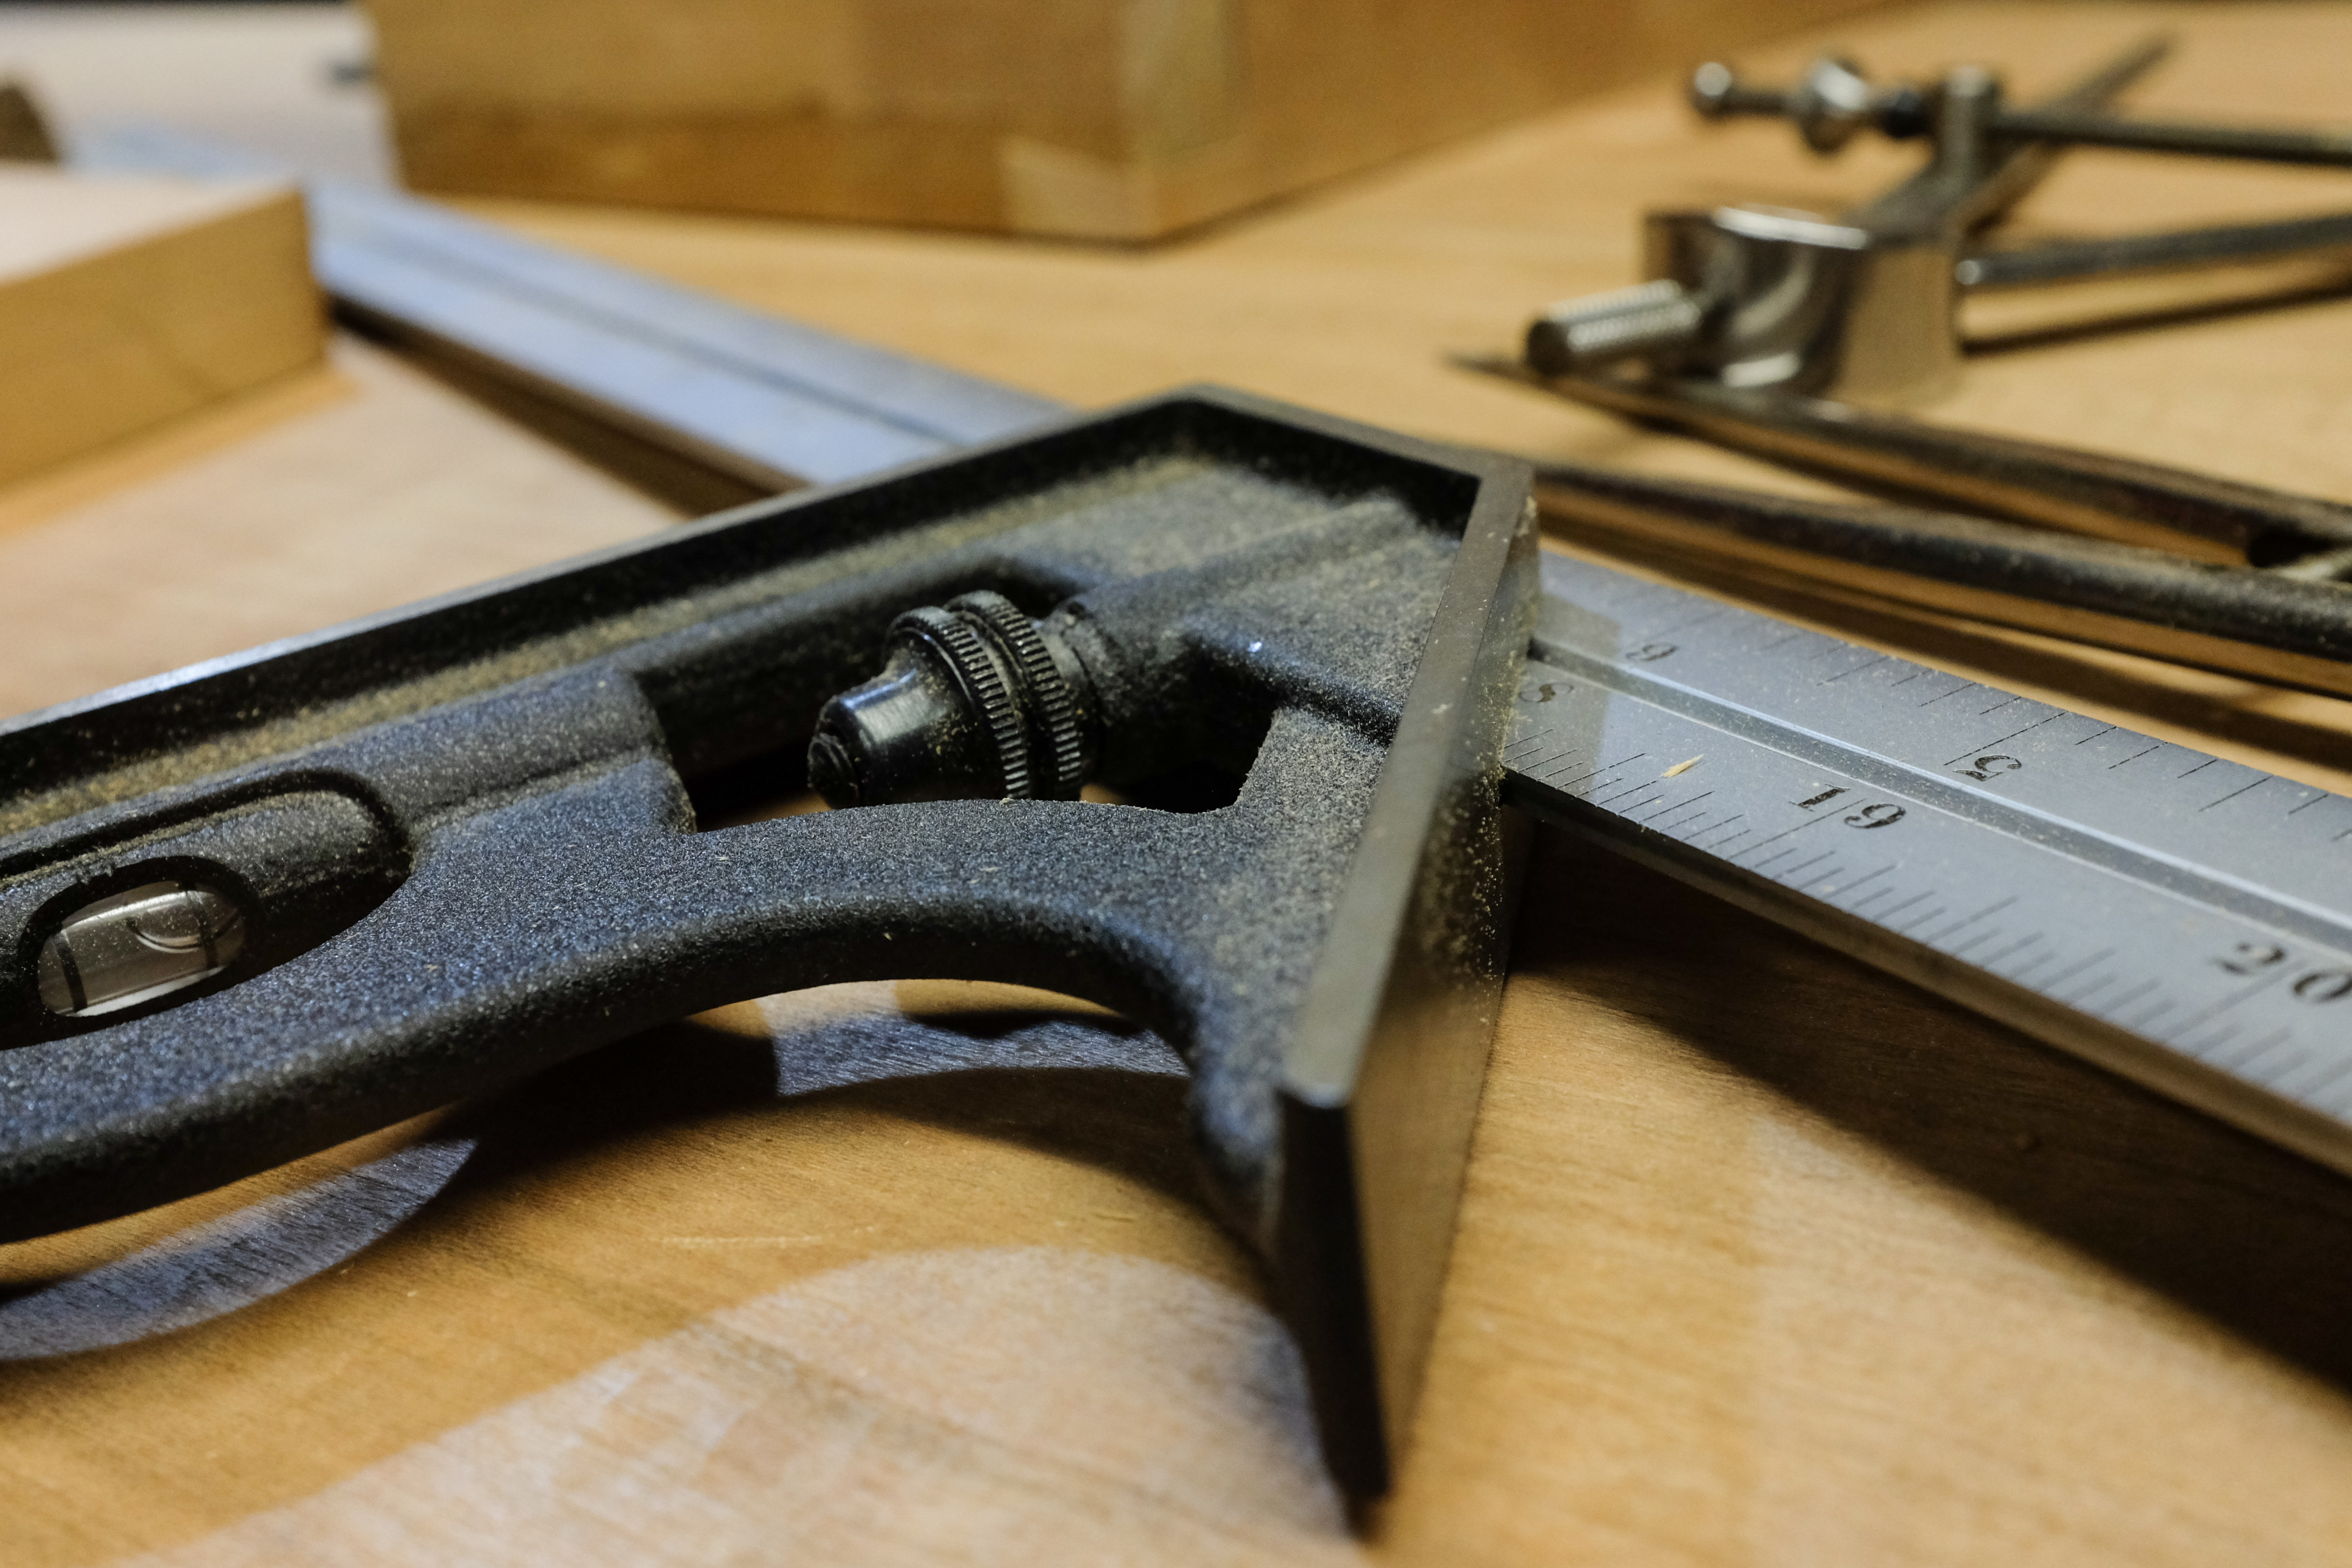
The next step before I could glue-up the case was to lay out the holes for shelf supports. For this task, I laid out lines on the sides from the front and rear of the case, accounting for the 1/2″ thick back and 3/4″ inset door on the front. Then, I arbitrarily decided to let no shelf be more than 4″ from the top or bottom of the case, and marked those points on one of the lines. Using a set of dividers, I stepped-off eight equally-spaced points between those two points. Then, using the combination square here, I marked the hole location at all four layout lines across the two sides. Since these were all marked at the same time, they should line up well after drilling. If they don’t, shelves will have a wobble, and I’ll be forever upset!
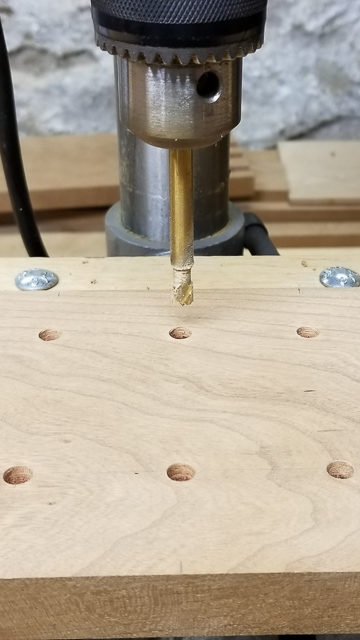
Once the layout was done, I could set up the drill press. I often do a lot of drilling with manual hand drills, but since these holes need to be pretty accurate and will not tolerate eccentricity well, I decided to use the drill press with a forstner bit. I’m using 1/4″ shelf pins, which take a 1/4″ hole. I set the fence for drilling all of the front holes, then drilled the front holes on both sides. Then I reset the fence for the rear holes and drilled those on both sides. I have just a little bench-top drill press, but it works fine for smaller things. This is a tool I’d like to upgrade eventually, but it doesn’t get a ton of use, so it will have to wait for a bit.
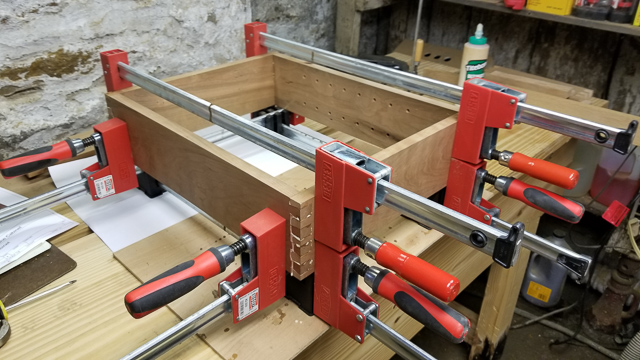
With the sides drilled, the case was ready for glue. The photo above was before I cleaned-up the squeeze-out. I don’t go too crazy cleaning up at this point, and prefer to clean up with a chisel later. I love my Bessey clamps.
The next step will be to cut the mortises for the hinges, mark and drill for the latch, and rabbet the back of the case to accept the back boards. Then I can cut the back boards to fit (with shiplap joints to account for expansion and contraction). At that point, I can probably attach the back, get some finish on the case and door, and mount the mirror. I still need to decide if I’m going to go fully concealed mounting with keyhole hangers in the case sides, or if I’m going to just drill through the back and do a standard screw mount. I like the idea of the keyhole mounts, especially because there aren’t actual studs in the wall where this is mounting–it used to be open to the front hall, and it was closed-off at some point with some boards with furring strips and drywall over them. The keyhole hangers will let me use some decent wall anchors to give it some support.
Until next time….